
Introduction
Here I will show you how to control an RC car (or any servo or electronic speed controller) using just a Raspberry Pi and a controller board called a PCA9685.
Build a robot without any expensive equipment! No need for expensive receivers transmitters, flight controllers, or anything else. You can find one of these boards for under $5 US (and even cheaper if you buy in bulk). Here are some options:
https://s.click.aliexpress.com/e/_c3d5xZmH (cheapest, Ali Express)
https://s.click.aliexpress.com/e/_c3ZdVE7x (alternate Ali Express link)
https://s.click.aliexpress.com/e/_c3WBY8Ap (up to 10 units, Ali Express)
https://amzn.to/4t8zK8c (Amazon Canada)
https://amzn.to/3OpOK2d (Amazon USA)
Instructions
Step One: Connect The Board
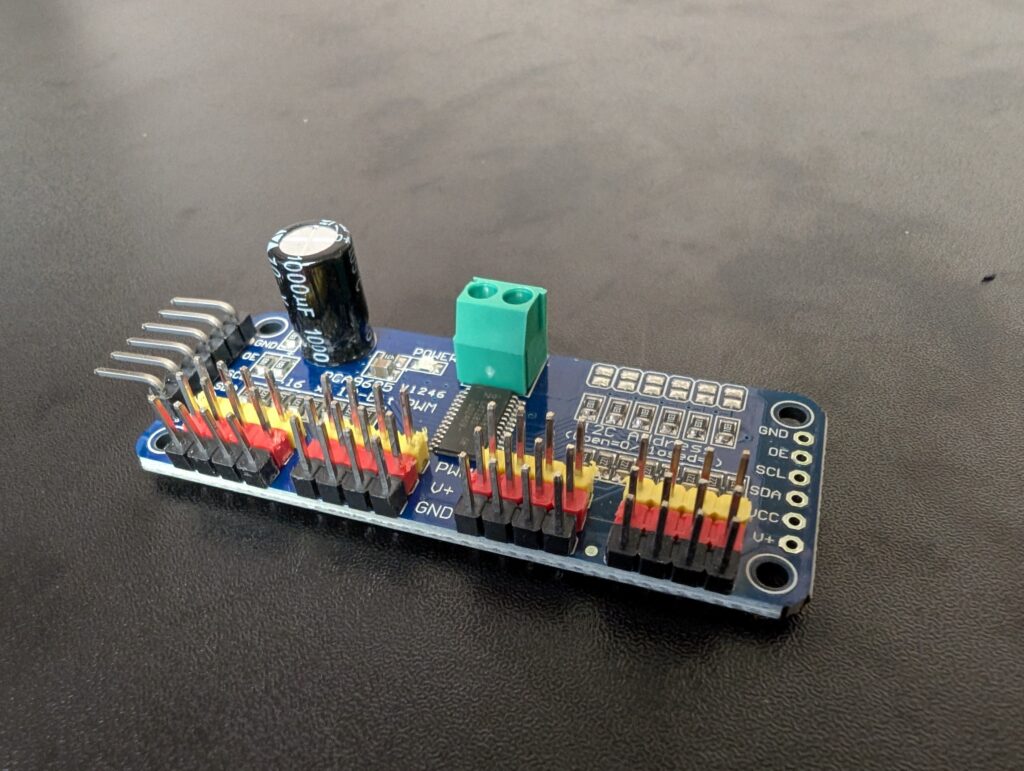
First we have to connect the PCA9685 to the Raspberry Pi. The PCA9685 uses I2C, so you can connect the SCL pin on the board to the SCL pin on the Raspberry Pi (Pin 5) and the SDA pin on the board to the SDA pin on the Raspberry Pi (Pin 3). Connect ground to ground (Pin 9 or 6), and VCC to 3.3V power on the Raspberry Pi (Pin 1).
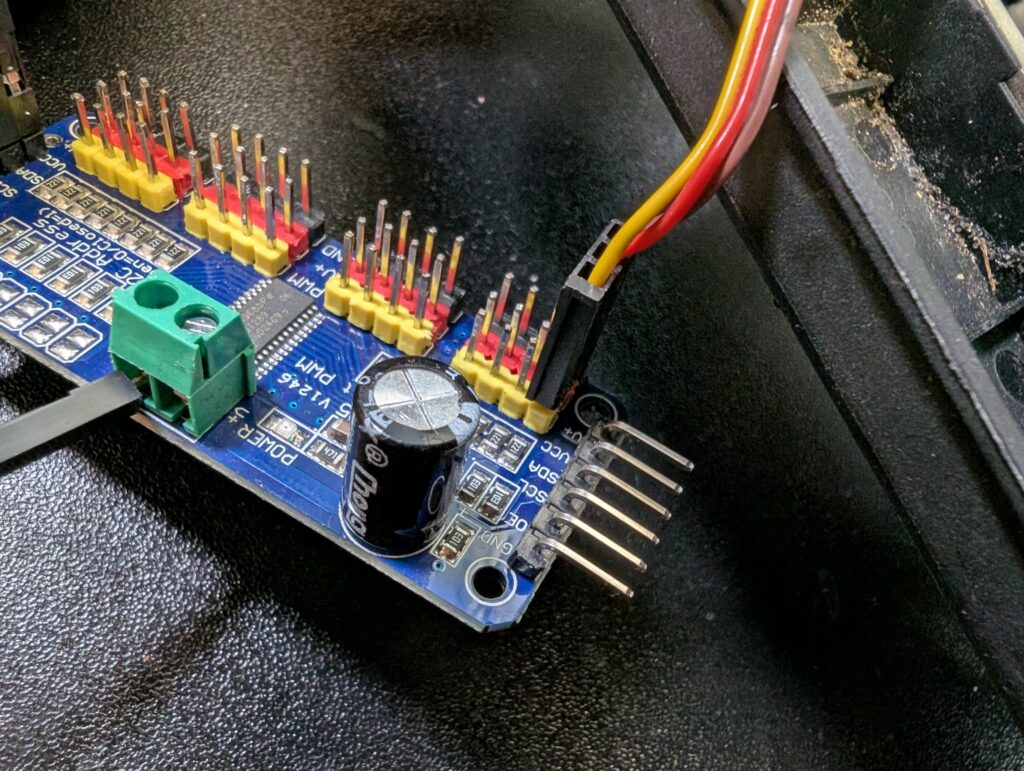
You can see on this board that I have an extra ground wire going to the power input on the board. We will be plugging the power from the speed controller’s BEC (Battery Eliminator Circuit) into the power there later.
Step Two: Connect the Steering Servo
Connect the steering servo to channel 0 on the board. Ground (brownish or black) is on the outside, Signal (usually yellow) is on the inside.
Step Three: Connect the ESC
Next, connect the Electronic Speed Control (ESC). For this, you want to cut the red wire out, as it *provides* power rather than uses it. If you only have one ESC and one or two servos, you can connect the red wire to the V+ input as I have done. Otherwise, connect a separate power supply and ground to the V+ input (be sure to connect the ground from your power supply to the ground of the raspbery pi).
Step Four: Set Up The Software
Now it’s time to set up the software. Connect to your Raspberry Pi through SSH or directly with a keyboard. Enable I2C by typing
sudo raspi-config
Then select Interface Options and enable I2C.
Next, download or write some servo control software. For my first test, I used this open source project here: https://github.com/custom-build-robots/raspberry-pi-rc-car-controller
I modified it to have the servo on channel 0 and the speed control on channel 1.
I am working on a more versatile Rust program for controlling servos and ESCs. Once I have a working version, I will add it here.
Run the software.
Step Five: Program Your ESC and Set The Servo Range
ESCs need to be programmed with the upper and lower limits of your signals. ESCs have different ways of programming them, so refer to the instructions on yours in order to program it correctly.
The servo cannot be programmed, so use the arrow keys to turn the servo each direction. Set the left, right, and midpoint appropriately. The default settings should work for most 180 degree servos.
Step Six: Go!
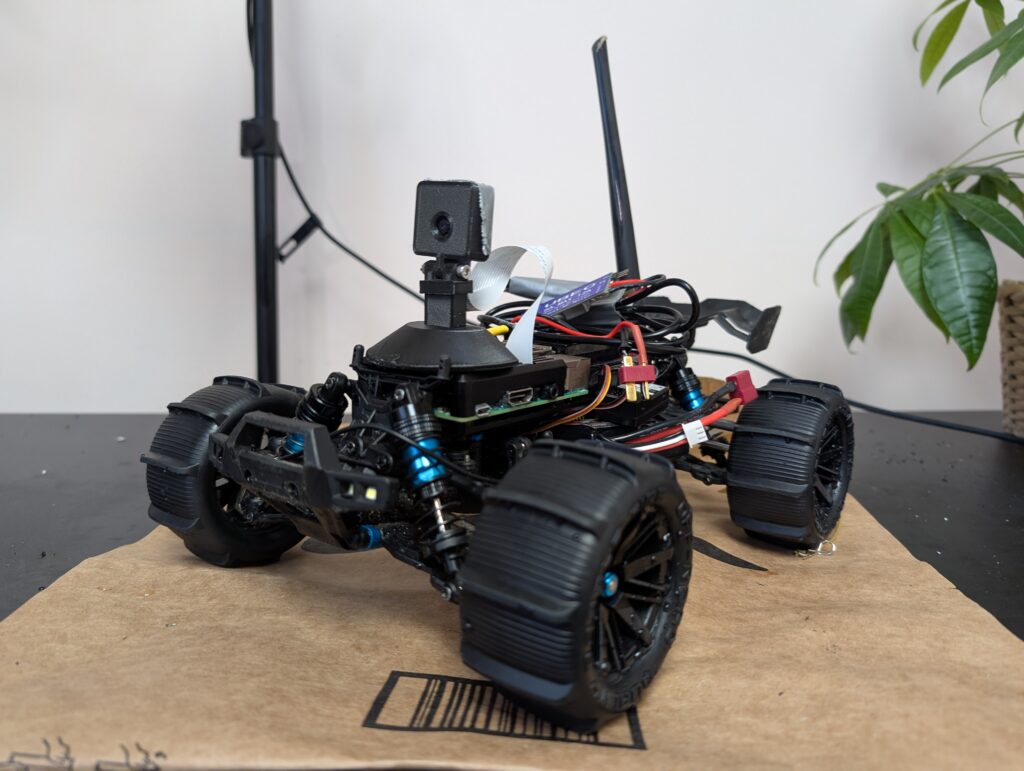
Now you should be able to control your car with the arrow keys on your Raspberry Pi or remote computer! What can you do next? Use a BEC to power your Raspberry Pi from your car’s battery. Then you can do anything. Control your car through SSH, set up a web server to control your car over the internet, use MavLink to control your car using ArduPilot or QGroundControl.
Happy tinkering!
1 thought on “Control An RC Car With A Raspberry Pi”