
Introduction
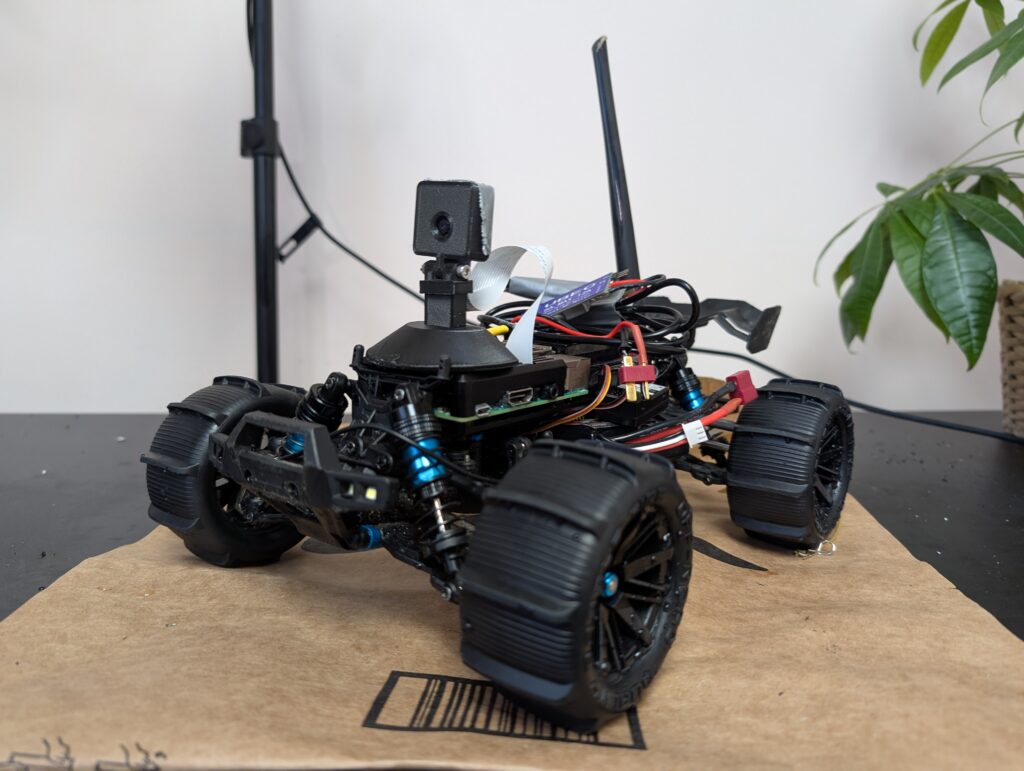
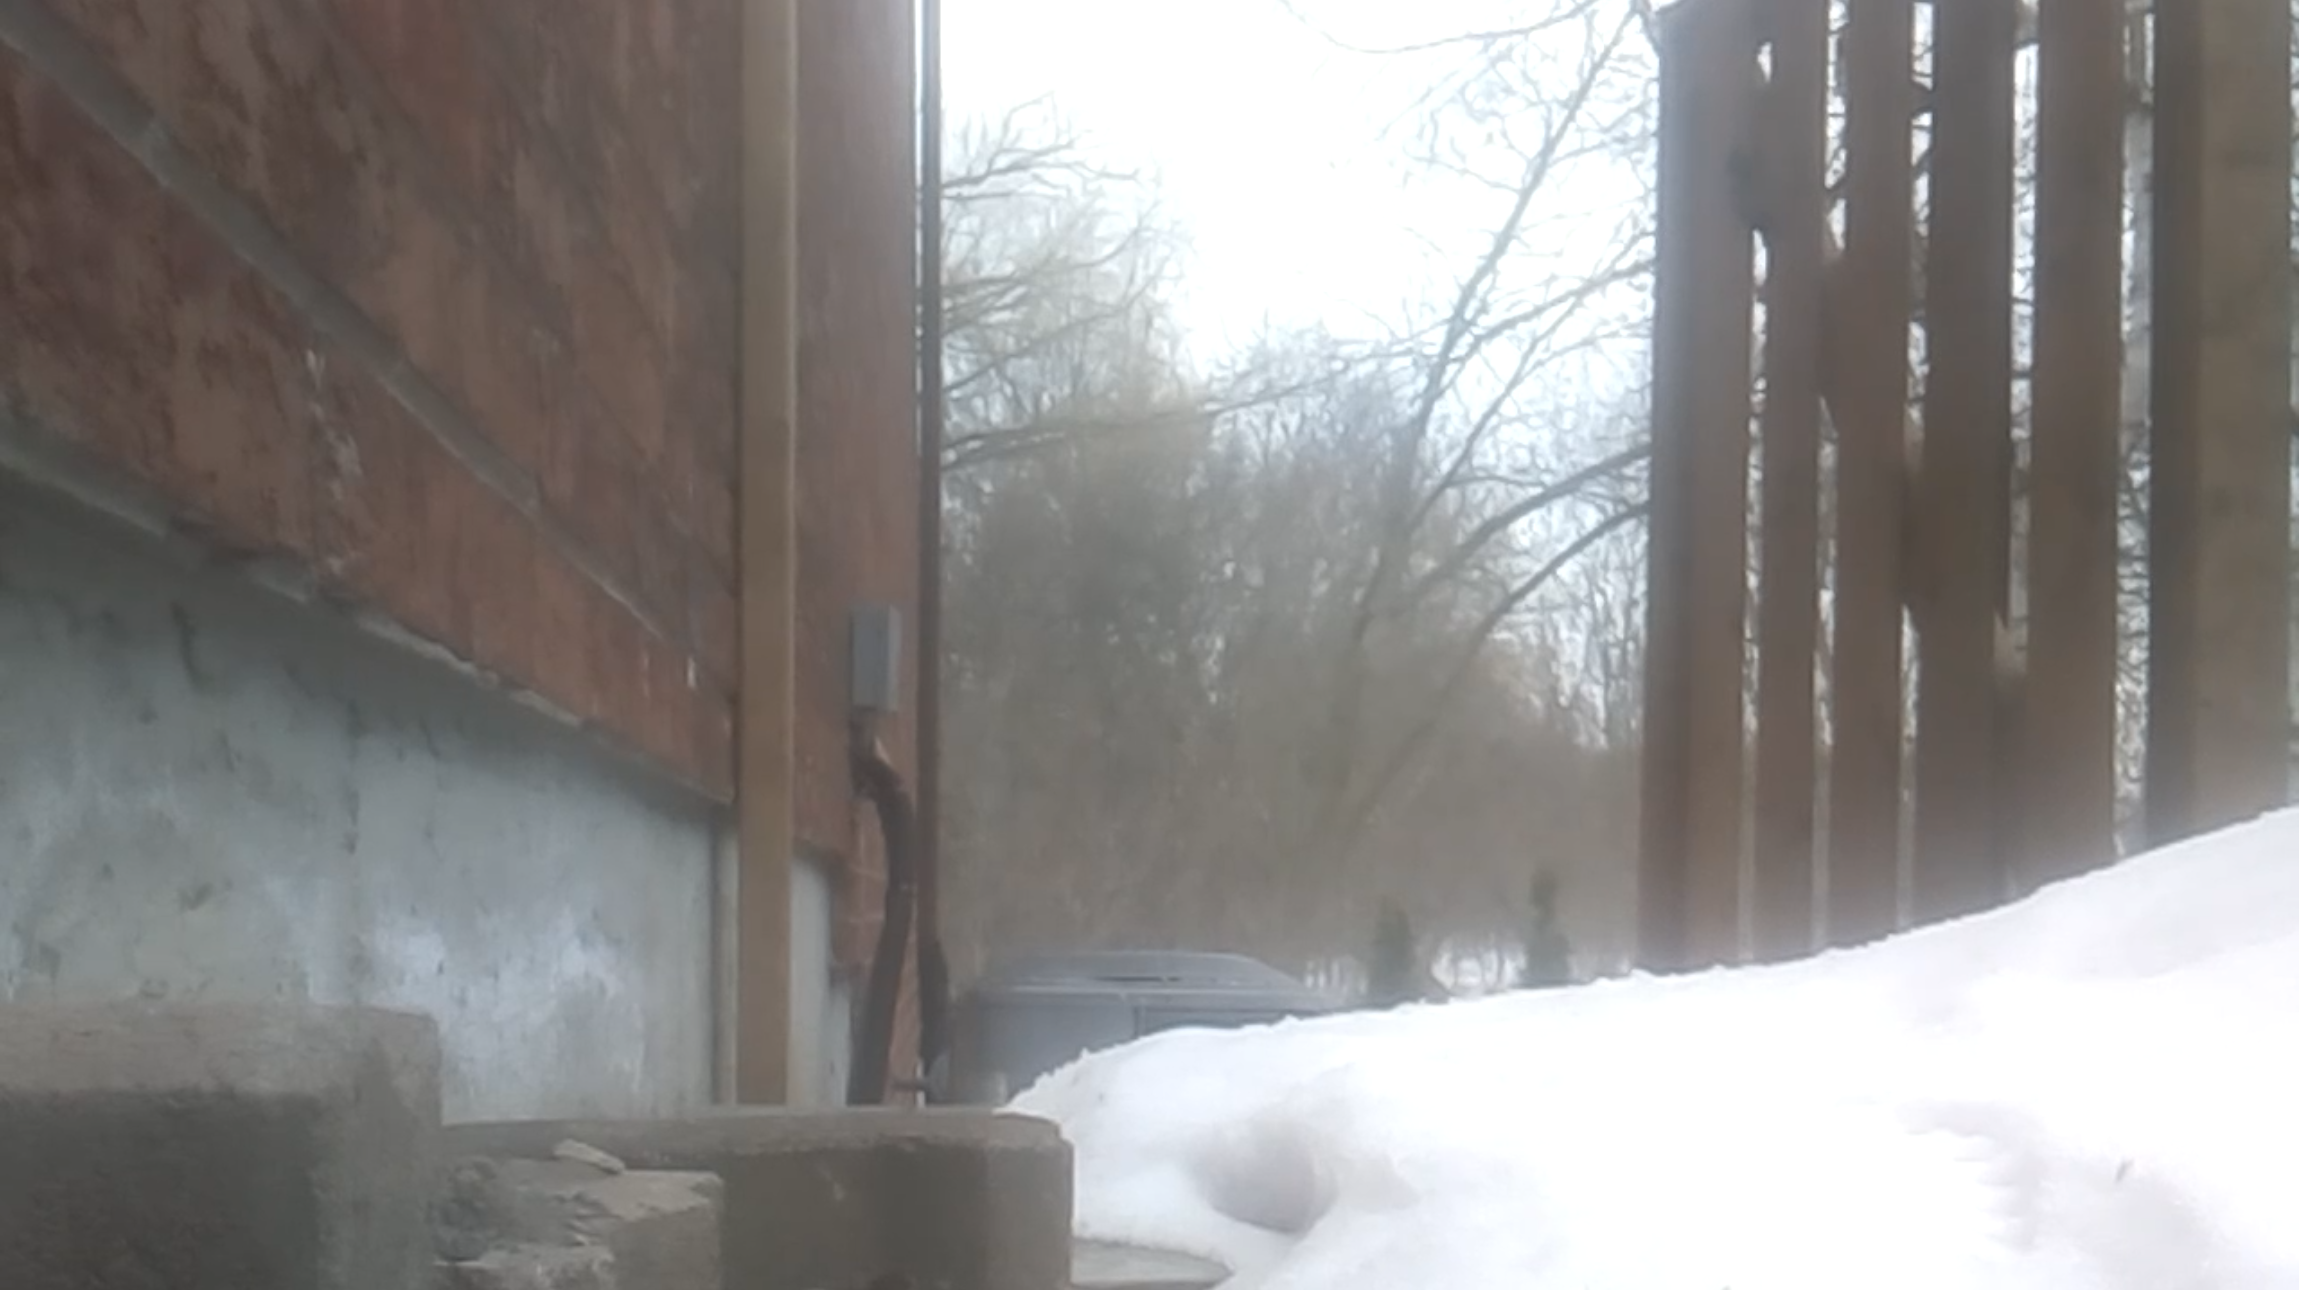
Here I will show you how to build a first person view (FPV) camera using a raspberry pi to mount on a rover or drone.
The system will use WFB-NG to communicate. WFB-NG uses the broadcast mode of the wifi card to allow higher throughput and longer range than standard wifi.
You can see a video version of these instructions here: https://youtu.be/Zk3wAtFm8ps
Hardware
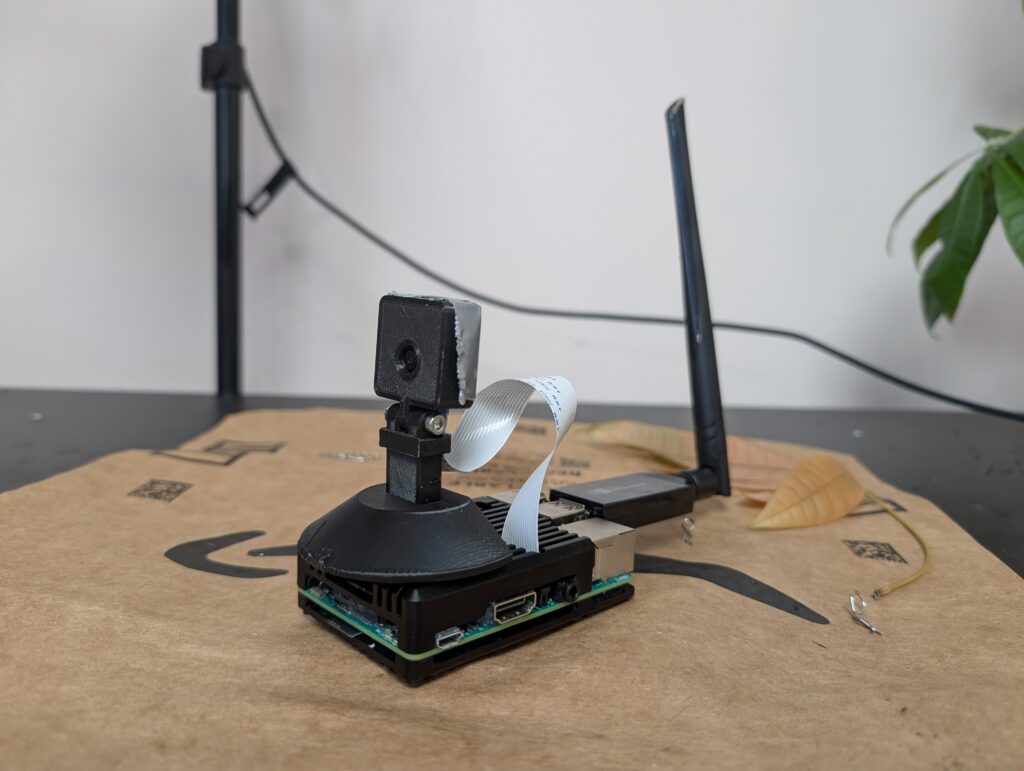
- Raspberry Pi
- The Raspberry Pi controls the camera, processes the video, and sends it over the wire
- Raspberry Pi camera
- The Raspberry Pi camera easily attaches to a slot on a Raspberry Pi
- Buy a V3 here: https://amzn.to/4d2fDmz
- Or a V2 here: https://s.click.aliexpress.com/e/_c4Ftm0Un
- You can also use a USB webcam
- The Raspberry Pi camera easily attaches to a slot on a Raspberry Pi
- Wifi Card
- Only certain chipsets have the features needed by the WFB-NG software
- The one I use is the
RTL8812AUchipset- RTL8812EU will also work
- You can buy a card with the RTL8812AU chipset here:
- The one I used for the rover:
- The one I used for the ground station:
- This one might be better:
- This one’s pretty small:
- The one I use is the
- Only certain chipsets have the features needed by the WFB-NG software
Software
- Raspberry Pi OS
- The raspberry pi operating system is on the WFB-NG image for easy installation
- Ubuntu
- In this example, I use Ubuntu on the computer that will receive the video stream. Any linux flavour will do, though Debian based distributions will be easier. Raspberry Pi OS will be easier still.
- WFB-NG
- This is the software that allows for long range high bandwidth FPV video streaming
- It also supports mavlink, so in the future I will try to control the car using the same system
- GStreamer
- In this example I use GStreamer to receive the video. You could also potentially use VLC Media Player or even QGroundControl ground control software (supported by WFB-NG)
Instructions
Here is how you set up the software to stream video from the Raspberry Pi camera over the air to a computer.
For more information or troubleshooting involving WFB-NG, go to the GitHub page here: https://github.com/svpcom/wfb-ng?tab=readme-ov-file
Rover / Drone Side
- Plug your supported Wifi card into the Raspberry Pi. You’ll also need an additional (temporary) wifi connection or wired connection to ssh into the Pi.
- Download the Raspberry Pi image from the WFB-NG website
- The latest image is here: https://github.com/svpcom/wfb-ng/releases
- Burn the image to an SD card for the Raspberry Pi
- For Linux, you can use ISO Image Writer
- For Windows you can use Balena Etcher or Disk Imager
- SSH into your Raspberry Pi
- In a terminal, type
ssh pi@192.168.1.12(replace the IP address with your pi’s)- The default password is “raspberry”. You might want to change it.
- In a terminal, type
- Edit your fpv camera service to use the Raspberry Pi camera
- type
sudo nano /etc/systemd/system/fpv-camera.service - Comment out the test camera, and uncomment the v4l2 Pi camera
- type
- Type in these commands to enable the services:
sudo systemctl enable wifibroadcast@dronesudo systemctl enable fpv-camerasudo reboot
- The only thing left on the rover side is to get the key from the controller side!
Controller / Ground Station Side
I am assuming you already have Ubuntu (or some other Linux version) installed.
- Type in the following to blacklist your existing driver:
cat > /etc/modprobe.d/wfb-blacklist.conf <<EOF
# blacklist stock module
blacklist 88XXau
blacklist 8812au
blacklist rtl8812au
blacklist rtl88x2bs
EOF
- Type in these to install the patched driver:
sudo apt-get install dkms
git clone -b v5.2.20 https://github.com/svpcom/rtl8812au.git
cd rtl8812au/
sudo ./dkms-install.sh
- Find the name of your Wifi card by typing:
ifconfig
- Run the installer:
curl -o install_gs.sh https://raw.githubusercontent.com/svpcom/wfb-ng/refs/heads/master/scripts/install_gs.sh sudo bash ./install_gs.sh
- Run the key generator:
- wfb_keygen
- Copy the drone.key to the Raspberry Pi
rsync -a pi@192.168.1.12:/home/pi/ ./drone.key- (then on the Raspberry Pi)
sudo mv ~/drone.key /etc/
- Enable the service:
sudo systemctl enable wifibroadcast@
- See if you get some packets:
wfb-cli gs
GStreamer
You can use GStreamer on the Controller / Ground Station to view and record your video.
Here is the command:gst-launch-1.0 udpsrc port=5600 caps="application/x-rtp, media=video, encoding-name=H264, payload=96" ! rtph264depay ! h264parse ! tee name=t ! queue leaky=1 ! avdec_h264 ! autovideosink sync=false t. ! queue ! matroskamux ! filesink location=fpv.mkv -e
What this does is launch GStreamer, looking for video udp packets on port 5600. It decodes them, then forks. One fork displays the video on the screen. The other fork records the video as “fpv.mkv”.
Happy tinkering!