
Introduction
Here I will describe how to use a Raspberry Pi as a receiver to control an RC car using a gamepad.
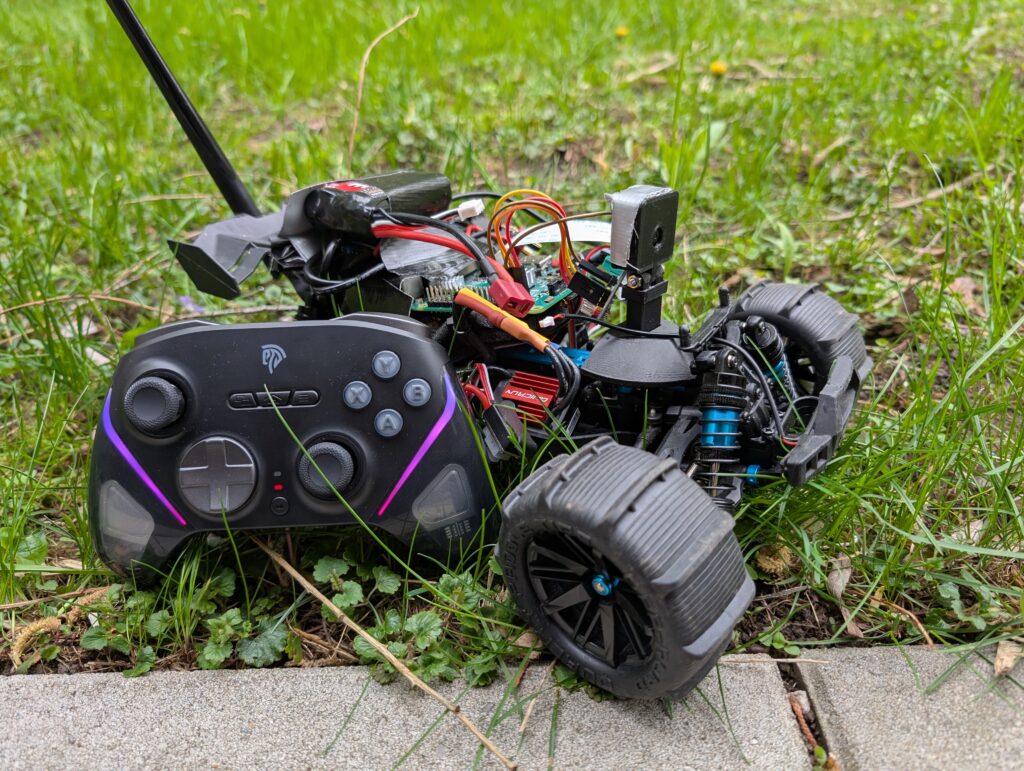
Setting up the Raspberry Pi with a PCA9685 to control the steering servo and speed controller is this post here: https://brian.wheeli.ca/index.php/2026/04/09/control-an-rc-car-with-a-raspberry-pi/
Setting up the radio link and a First Person View (FPV) stream is covered here: https://brian.wheeli.ca/index.php/2026/03/05/diy-fpv-how-to-build-a-fpv-camera/
This post covers using the MavLink protocol to control the RC car through the same link as the FPV stream using a gamepad.
This post is also covered in this video here: https://www.youtube.com/watch?v=YCZaT0brN1o
Instructions
These instructions assume you have a board (a Raspberry Pi or similar) with a PCA9685 controlling the servos and speed controller. If you have not done that yet, see this post: https://brian.wheeli.ca/index.php/2026/04/09/control-an-rc-car-with-a-raspberry-pi/
Step 1: MavLink to Pulse-Width Modulation (PWM)
I have built an open-source program to convert MavLink commands to PWM signals specifically for the PCA9685. Find it here: https://github.com/bbwheeler/robocontrol
Download the latest code. Then it must be compiled for your specific board (I used a Raspberry Pi 3B).
Then, install the Rust compiler on a computer if you have not: https://doc.rust-lang.org/cargo/getting-started/installation.html
Install “cross” to more easily cross-compile for your target board: https://github.com/cross-rs/cross
Then, cross compile for your target board. The Raspberry Pi 3B target is “armv7-unknown-linux-gnueabihf”.
Also, configure the config.toml file how you like it. The defaults should work if you have a similar setup to how mine was set up in the previous post.
After that, copy the file to your board. I used rsync (rsync -a ./ pi@192.168.1.12:/home/pi/robocontrol/) 192.168.1.12 is the IP address of the Raspberry Pi on my RC car.
Then, set up the program as a service. Add the file /etc/systemd/system/robocontrol.service
And add to it these lines, adjusting for your target and working directory:
[Unit]
Description=Control PCA9685 using MavLink commands

[Service]
User=pi
WorkingDirectory=/home/pi/robocontrol
ExecStart=/home/pi/robocontrol/target/armv7-unknown-linux-gnueabihf/release/robocontrol
Type=simple
Restart=on-failure

[Install]
WantedBy=multi-user.target
Then start the service with sudo systemctl start robocontrol.service
Step 2: Ground Station
I have an open source program to take gamepad inputs and translate them to MavLink packets. Find it here: https://github.com/bbwheeler/basetation
Download the latest code onto your base station computer (or any computer that can connect through UDP to your RC car).
Set up Python: https://www.python.org/downloads/
Set up your gamepad.
Run the code: python gcs_gamepad.py
Step 3: Calibration and Testing
Now, turn on your car and your gamepad and see if it can steer!
The throttle will likely not work if you have not calibrated your speed controller yet. Follow the instructions to calibrate that (mine involves holding the set button down while turning it on, then pushing set while in neutral, then set again while at full throttle, then set again while at full reverse).
After that, it should work!
Troubleshooting
If you run into any trouble, add a comment here on my website, or on the YouTube video. I’ll add any troubles people have to this section once we fix them!